Introduction:
In this tutorial, we’ll learn how to build a simple Bluetooth-controlled Arduino car using an Arduino UNO, an L293D motor driver shield, 2 DC motors, an HC-05 Bluetooth module, and a 12V battery. This project will allow you to control the movement of the car wirelessly using a smartphone or any Bluetooth-enabled device.
Important Links:
Purchase Kit : https://archonmart.com/robotics
Bluetooth Application: https://shahfahadahmed.com/bluetoothapp/
Code: https://drive.google.com/drive/folders/1SCp50cj9bqZWkZvbVzCj3UNkFR44EiBL?usp=sharing
Theory:
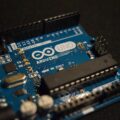
1. Arduino UNO:
The Arduino UNO is a microcontroller board based on the ATmega328P chip. It provides digital and analog input/output pins that can be used to interface with various electronic components.
2. L293D Motor Driver Shield:
The L293D motor driver shield is a convenient way to control DC motors with an Arduino. It can drive up to two DC motors bidirectionally, meaning it can control their direction of rotation as well as their speed.
3. DC Motors:
DC motors are widely used in robotics and other applications for their simplicity and ease of control. They rotate in one direction when voltage is applied in one polarity and rotate in the opposite direction when the polarity is reversed.
4. HC-05 Bluetooth Module:
The HC-05 is a popular Bluetooth module that allows wireless communication between devices. It can be paired with a smartphone or computer to establish a Bluetooth connection, enabling us to send commands to the Arduino wirelessly.
5. 12V Battery:
The 12V battery provides the necessary power to drive the motors and the Arduino board.
Materials Required:
- Arduino UNO
- L293D Motor Driver Shield
- 2 DC Motors
- HC-05 Bluetooth Module
- 12V Battery
- Jumper Wires
- Chassis for the car (optional)
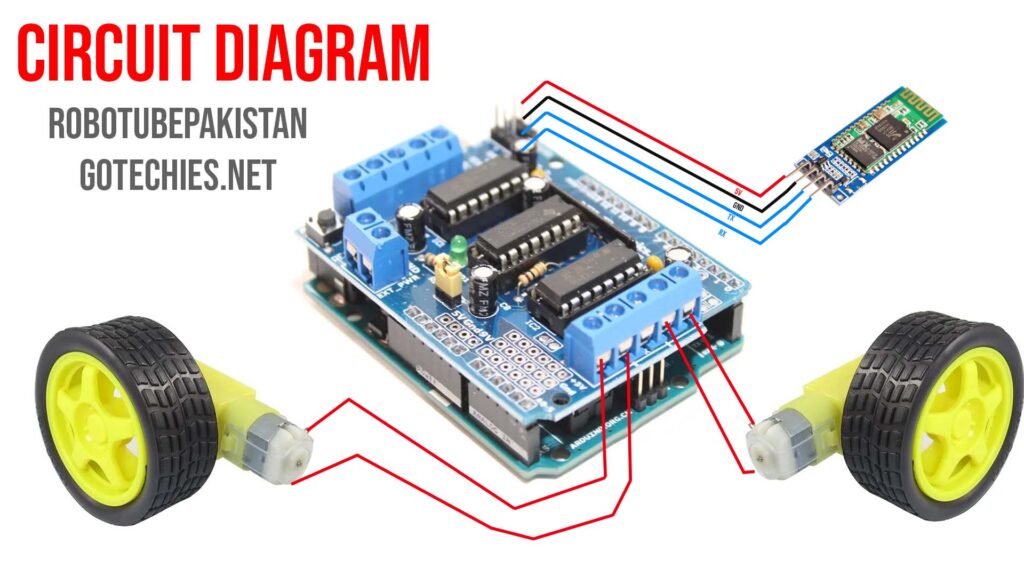
Circuit Diagram:
Steps to Build:
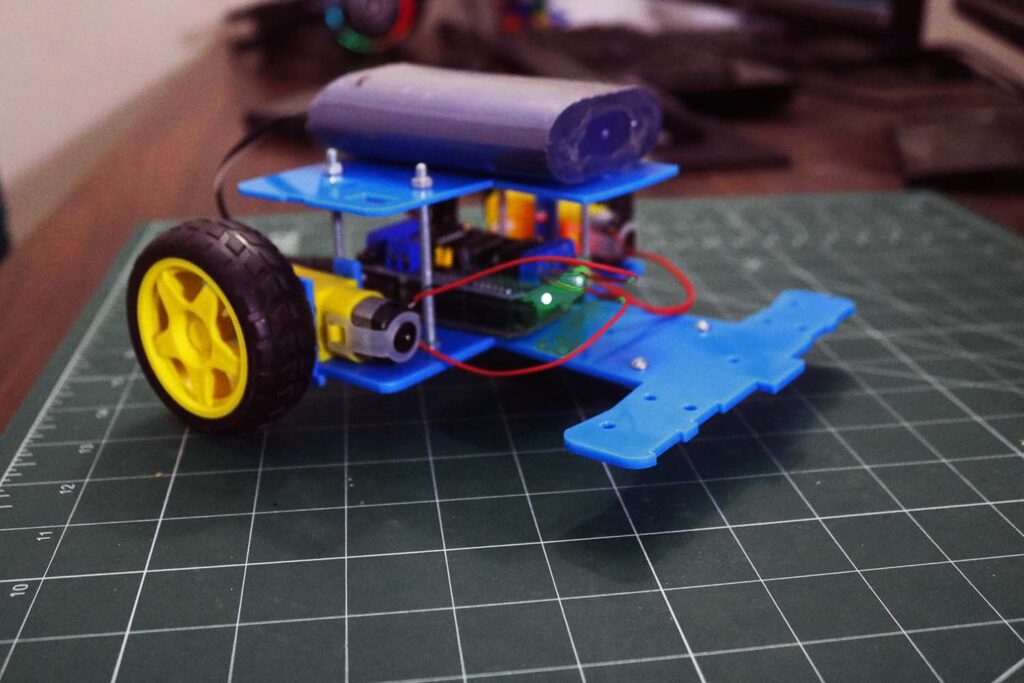
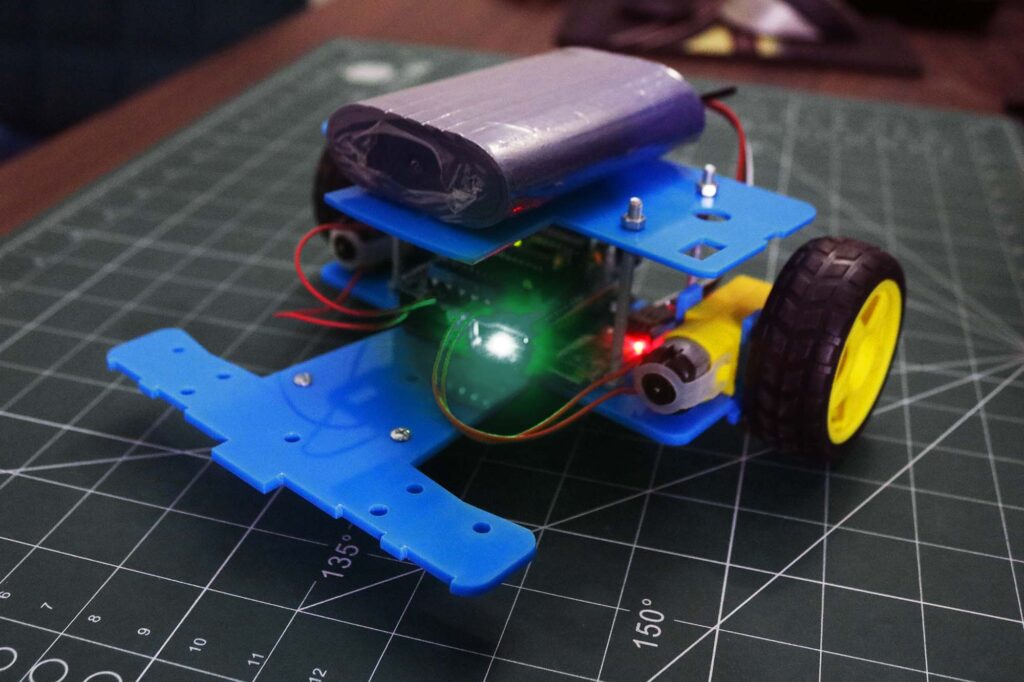
Step 1: Assemble the Hardware
- Assemble Chassis ( Attach both motors , free wheel and Arduino )
- Connect the L293D motor driver shield to the Arduino UNO.
- Connect the DC motors to the motor terminals on the shield.
- Connect the HC-05 Bluetooth module above arduino according to its datasheet.
Step 2: Write the Arduino Code
#include <SoftwareSerial.h>

SoftwareSerial mySerial(10, 9);

#include <AFMotor.h>
AF_DCMotor motor1(3);
AF_DCMotor motor2(4);

void setup() {
  Serial.begin(9600);
   mySerial.begin(9600);


  motor1.setSpeed(250);
   motor2.setSpeed(250);
  motor1.run(RELEASE);
    motor2.run(RELEASE);
}
int msg;
void loop() {
    if (mySerial.available()) {
    msg=mySerial.read();
    Serial.println(msg);

  }

  if ( msg==83 )
  {
    motor1.run(RELEASE);
  motor2.run(RELEASE);

  }

   if ( msg==70 )
  {
    motor1.run(FORWARD);
  motor2.run(FORWARD);

  }  if ( msg==66 )
  {
    motor1.run(BACKWARD);
  motor2.run(BACKWARD);

  }  if ( msg==76 )
  {
    motor1.run(FORWARD);
  motor2.run(BACKWARD);

  }  if ( msg==82 )
  {
    motor1.run(BACKWARD);
  motor2.run(FORWARD);

  }
}
Step 3: Upload the Code to Arduino
Connect your Arduino to your computer using a USB cable and upload the code using the Arduino IDE.
Step 4: Pair Bluetooth Module with your Device
Pair your smartphone or computer with the HC-05 Bluetooth module. The default pairing code is usually “1234” or “0000”.
Step 5: Test the Car
Open a Bluetooth terminal app on your smartphone and connect to the HC-05 module. Send commands (F, B, L, R, S) to control the movement of the car.
Conclusion:
Congratulations! You have successfully built a Bluetooth-controlled Arduino car with 2 DC motors. You can now explore further modifications and enhancements to customize your project.
Important Links:
Purchase Kit : https://archonmart.com/robotics
Bluetooth Application: https://shahfahadahmed.com/bluetoothapp/
Code: https://drive.google.com/drive/folders/1SCp50cj9bqZWkZvbVzCj3UNkFR44EiBL?usp=sharing