This DIY project is the perfect introduction to building an Arduino Bluetooth robot, combining the best aspects of Arduino programming and hands-on electronics. Using an Arduino UNO, an L293D motor driver shield, and an HC-05 Bluetooth module, you’ll create a Bluetooth-controlled DIY car that responds to commands from your smartphone. The project includes optimized Arduino Bluetooth code and detailed instructions for integrating the L293D shield, making it one of the best Arduino projects for both beginners and hobbyists. Whether you’re exploring Arduino for the first time or enhancing your skills, this Bluetooth robot project offers a rewarding and educational experience.
Components Required
- Arduino UNO
- L293D Motor Driver Shield
- Zencode RC Truck Chassis
- 4 TT Yellow Motors
- Battery (suitable for Arduino and motors)
- 4 Wheels
- HC-05 Bluetooth Module
- Jumper wires
- Screws and nuts
- Breadboard (optional)
Purchase Complete Kit : https://archonmart.com/product/zencode-arduino-kit-rc-truck/
Tools Required
- Screwdriver
- Soldering iron (if necessary)
- Hot glue gun (optional)
- Wire cutters and strippers
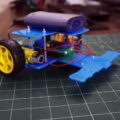
Step 1: Preparing the Chassis
- Unpack the Zencode RC Truck Chassis: Unpack the chassis kit and identify all the parts. The chassis will have pre-drilled holes for mounting the motors and other components.
- Mount the Motors: Attach the 4 TT yellow motors to the chassis using screws and nuts. Ensure that the motors are securely mounted and aligned properly.
- Attach the Wheels: Push the wheels onto the shafts of the TT motors. Make sure they are firmly attached.
Step 2: Wiring the Motors
- Identify Motor Wires: Each TT motor typically has two wires (one red and one black).
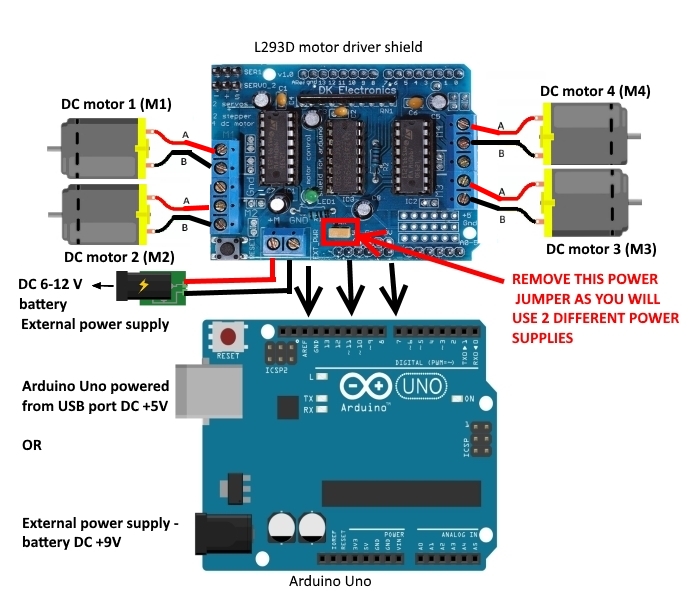
- Connect Motors to L293D Shield:
- The L293D motor driver shield plugs directly into the Arduino UNO.
- The motor shield has two channels (A and B). Each channel can control two motors.
- Connect the wires from the front left and rear left motors to one channel (e.g., A), and the front right and rear right motors to the other channel (e.g., B).
Step 3: Connecting the Battery
- Power the Arduino: Connect the battery to the Arduino UNO’s power jack or through the Vin and GND pins on the L293D shield. Make sure the voltage of the battery is appropriate for the Arduino and motor shield (typically 7-12V).
- Power the Motors: The L293D shield will draw power from the Arduino. Ensure the shield’s power jumper is set correctly to supply power to the motors.
Step 4: Setting Up the HC-05 Bluetooth Module
- Connect HC-05 to Arduino:
- The HC-05 Bluetooth module has 4 pins: VCC, GND, TXD, and RXD.
- Connect VCC to the 5V pin on the Arduino. (There is + on Motor driver shield near servo terminals)
- Connect GND to the GND pin on the Arduino. (There is – on Motor driver shield near servo terminals)
- Connect TXD to the servo pin on the Arduino shield (servo 1).
- Connect RXD to the servo pin on the Arduino shield (servo 2).
#include <AFMotor.h>

#include <SoftwareSerial.h>

SoftwareSerial mySerial(10, 9);


AF_DCMotor motor1(1);
AF_DCMotor motor2(2);
AF_DCMotor motor3(3);
AF_DCMotor motor4(4);

void setup() {
  Serial.begin(38400);
   mySerial.begin(9600);

  motor1.setSpeed(250);
  motor2.setSpeed(250);
  motor3.setSpeed(250);
  motor4.setSpeed(250);
  motor1.run(RELEASE);
  motor2.run(RELEASE);
  motor3.run(RELEASE);
  motor4.run(RELEASE);
}
int msg = 0;


void loop() {
    if (mySerial.available()) {
    msg=mySerial.read();
    Serial.println(msg);

  }

  if ( msg == 83 )
  {
    motor1.run(RELEASE);
    motor2.run(RELEASE);
    motor3.run(RELEASE);
    motor4.run(RELEASE);

  }

  if ( msg == 70 )
  {
    motor1.run(BACKWARD);
    motor2.run(BACKWARD);
    motor3.run(BACKWARD);
    motor4.run(BACKWARD);

  }

  if ( msg == 66 )
  {

    motor1.run(FORWARD);
    motor2.run(FORWARD);
    motor3.run(FORWARD);
    motor4.run(FORWARD);

  }


  if ( msg == 76 )
  {

    motor1.run(BACKWARD);
    motor2.run(FORWARD);
    motor3.run(FORWARD);
    motor4.run(BACKWARD);

  }


  if ( msg == 82 )
  {

    motor2.run(BACKWARD);
    motor1.run(FORWARD);
    motor4.run(FORWARD);
    motor3.run(BACKWARD);

  }

  if ( msg == 'I' )
  {

    motor2.run(BACKWARD);
    motor1.run(RELEASE);
    motor4.run(RELEASE);
    motor3.run(BACKWARD);

  }

  if ( msg == 'G' )
  {

    motor2.run(RELEASE);
    motor1.run(BACKWARD);
    motor4.run(BACKWARD);
    motor3.run(RELEASE);

  }


}
Step 5: Uploading the Arduino Code
- Install Arduino IDE: If you haven’t already, download and install the Arduino IDE from arduino.cc.
- Write the Code: Open the Arduino IDE and write the code to control the motors and receive commands via Bluetooth. Here is a basic example:
- Upload the Code: Connect your Arduino to your computer via USB and upload the code.
Step 6: Testing and Troubleshooting
- Pair the Bluetooth Module: Pair your smartphone or another Bluetooth-enabled device with the HC-05 module. The default pairing code is usually ‘1234’ or ‘0000’.
- Use a Bluetooth Control App: Download a Bluetooth control app on your smartphone (such as “Bluetooth RC Controller” or similar).
Mobile application link : https://shahfahadahmed.com/bluetoothapp/
- Send Commands: Use the app to send commands (‘F’ for forward, ‘B’ for backward, ‘L’ for left, ‘R’ for right, ‘S’ for stop) to your RC truck.
- Troubleshoot:
- If the motors aren’t responding, check the wiring connections.
- Ensure the HC-05 module is properly paired and receiving commands.
- Verify that the battery is charged and supplying adequate power.
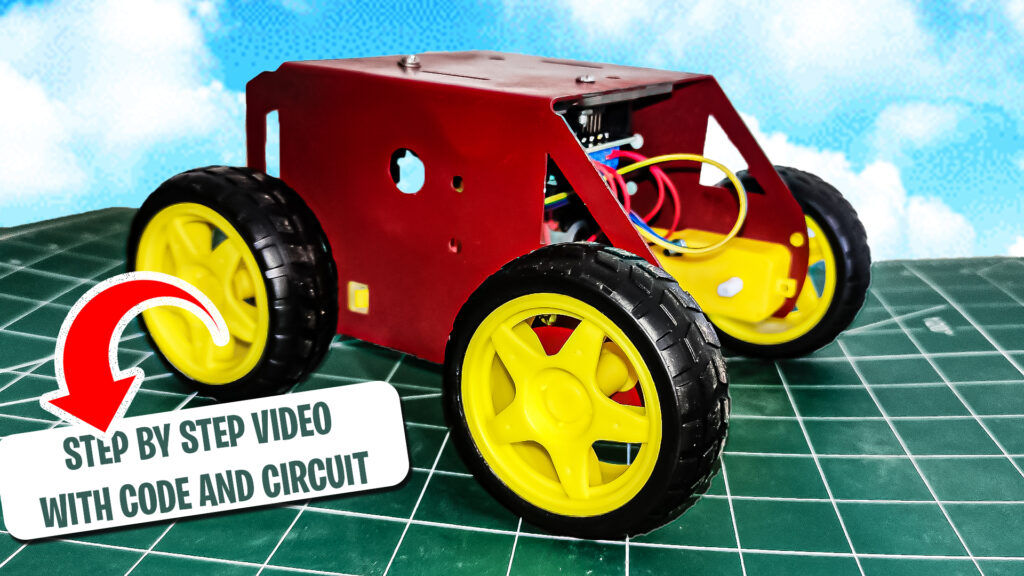
Conclusion
You have now built your own Arduino-based 4-wheel RC truck! This project teaches the basics of motor control, Bluetooth communication, and Arduino programming. Feel free to expand on this project by adding more features, such as sensors for obstacle avoidance or advanced control algorithms.
Enjoy your DIY Bluetooth truck!