
Here’s a step-by-step tutorial on how to set up C++ and Visual Studio Code on a Windows computer:
1. Download Visual Studio Code
Go to the official Visual Studio Code website:
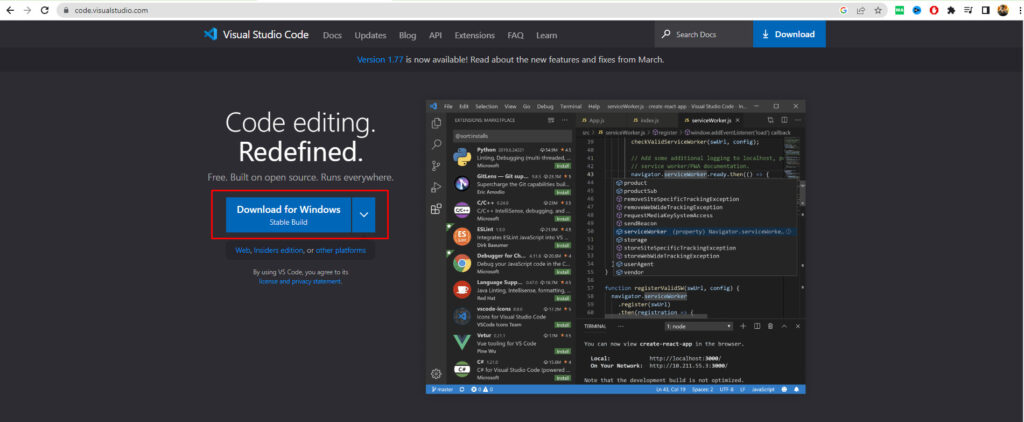
https://code.visualstudio.com/download
Click the “Download for Windows” button.
Once the download is complete, run the Visual Studio Code installer and follow the on-screen instructions.

2. Download the Mingw compiler
Go to the Mingw-w64 website:
https://sourceforge.net/projects/mingw/
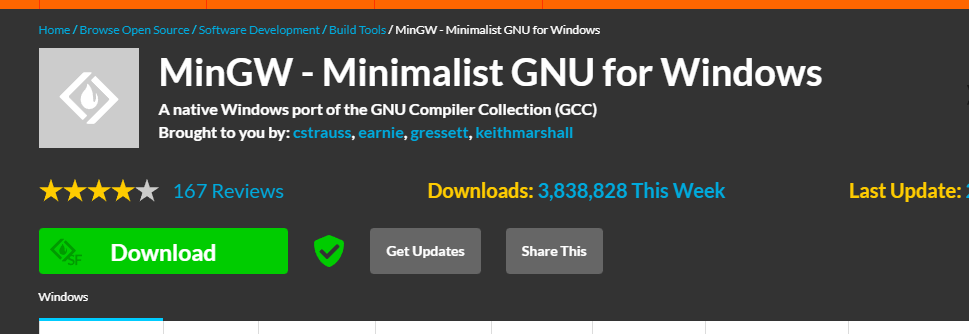
Download the Mingw-w64 installer that corresponds to your system architecture (32-bit or 64-bit).
Run the installer and follow the on-screen instructions.
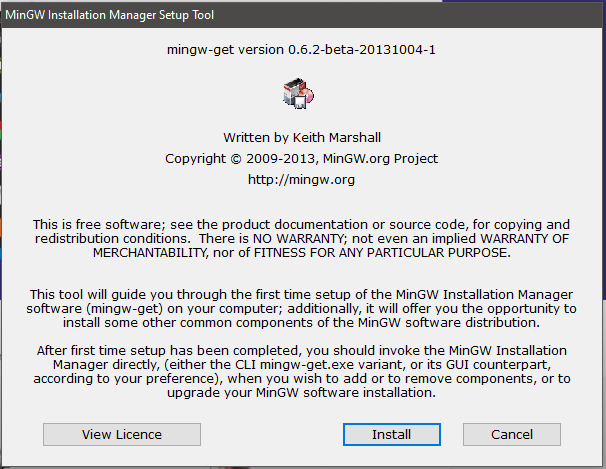
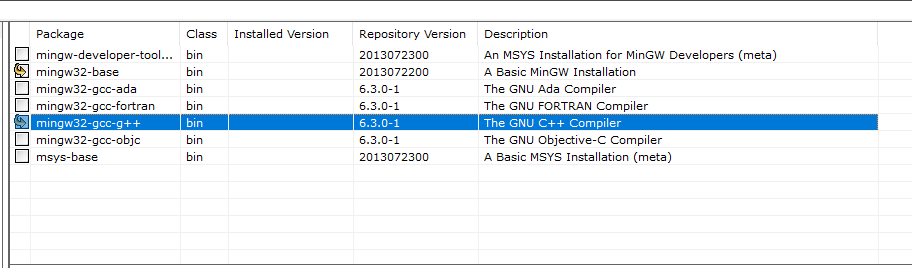
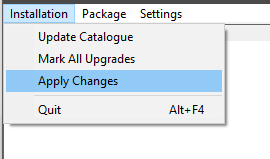
Once setup of mingw is completed open the downloaded application and install following packages inside it, apply the changes from the top down menu
3. Install Visual Studio Code
Open the Visual Studio Code installer that you downloaded in step 1.
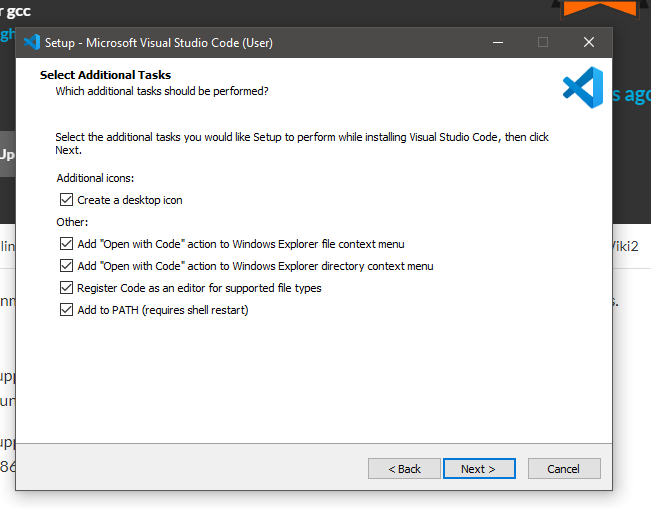
Follow the on-screen instructions to install Visual Studio Code.
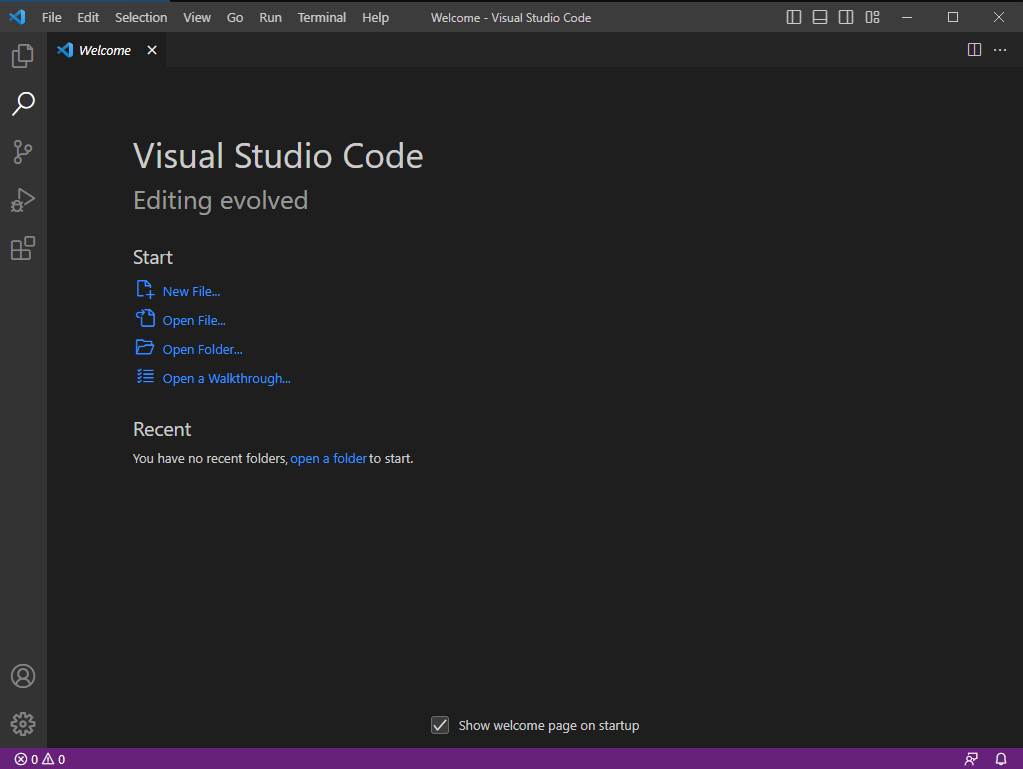
Once the installation is complete, open Visual Studio Code.
4. Add the g++ path to the system environment variables
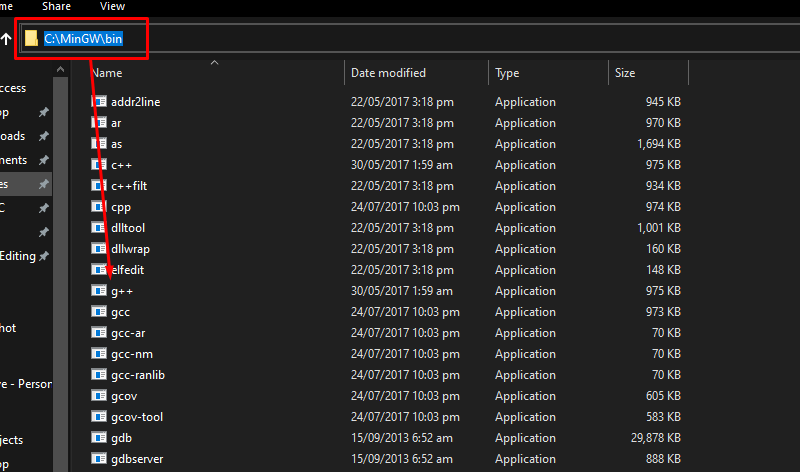
Find and copy the path of G++ application file
Open the Start menu and search for “Environment Variables”.
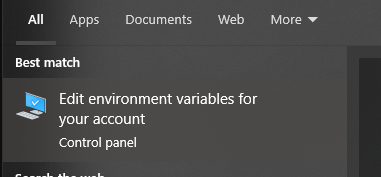
Click on “Edit the system environment variables”.
Click on the “Environment Variables” button.
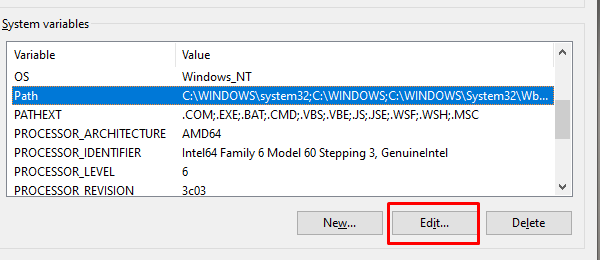
In the “System Variables” section, scroll down and find the “Path” variable.
Click on “Edit”.
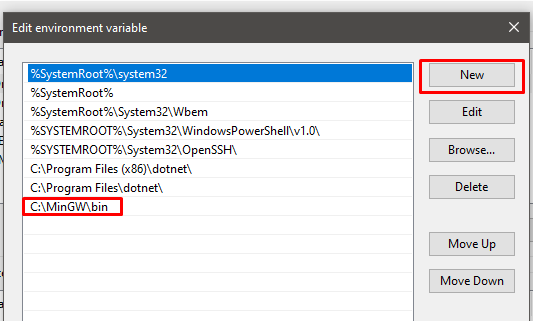
Click on “New” and add the path to the Mingw-w64 bin folder.
Click “OK” on all the windows to close them.
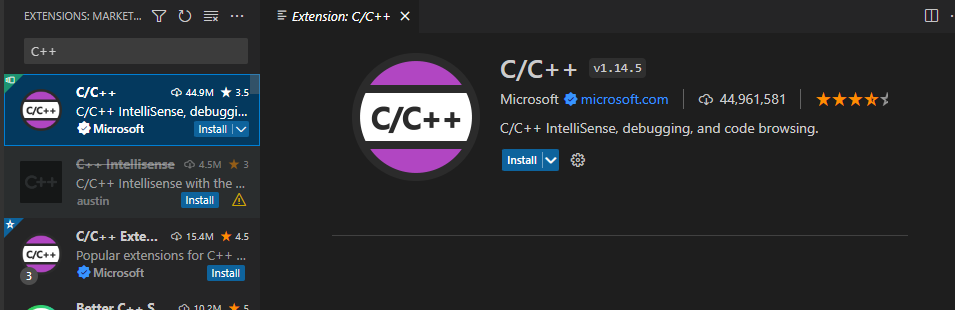
5a. Install the C++ extension for Visual Studio Code
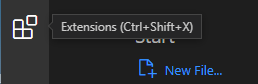
In Visual Studio Code, click on the Extensions icon on the left-hand side of the screen (the one that looks like four squares).
In the search bar, type “C++” and hit Enter.
The first result should be the “C/C++” extension by Microsoft. Click on the “Install” button to install the extension.
Wait for the installation to complete and then restart Visual Studio Code.
5b. Install the Code Runner extension for Visual Studio Code
In Visual Studio Code, click on the Extensions icon on the left-hand side of the screen (the one that looks like four squares).
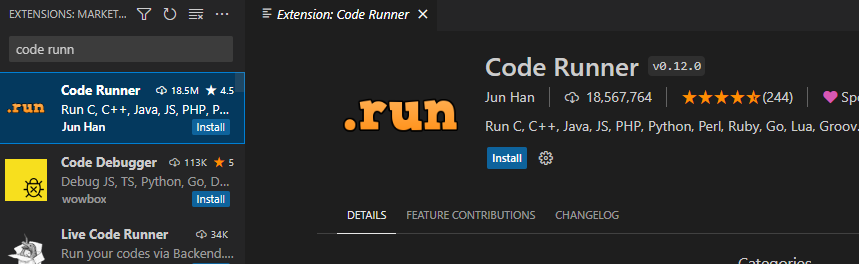
In the search bar, type “Code Runner” and hit Enter.
The first result should be the “Code Runner” extension by Jun Han. Click on the “Install” button to install the extension.
Wait for the installation to complete and then restart Visual Studio Code.
Congratulations! You have now set up C++ and Visual Studio Code on your computer. You can now create a new C++ file in Visual Studio Code, write some code, and run it using the Code Runner extension.

#include
using namespace std;
int main()
{
cout<<"My name is fahad"; return 0; }